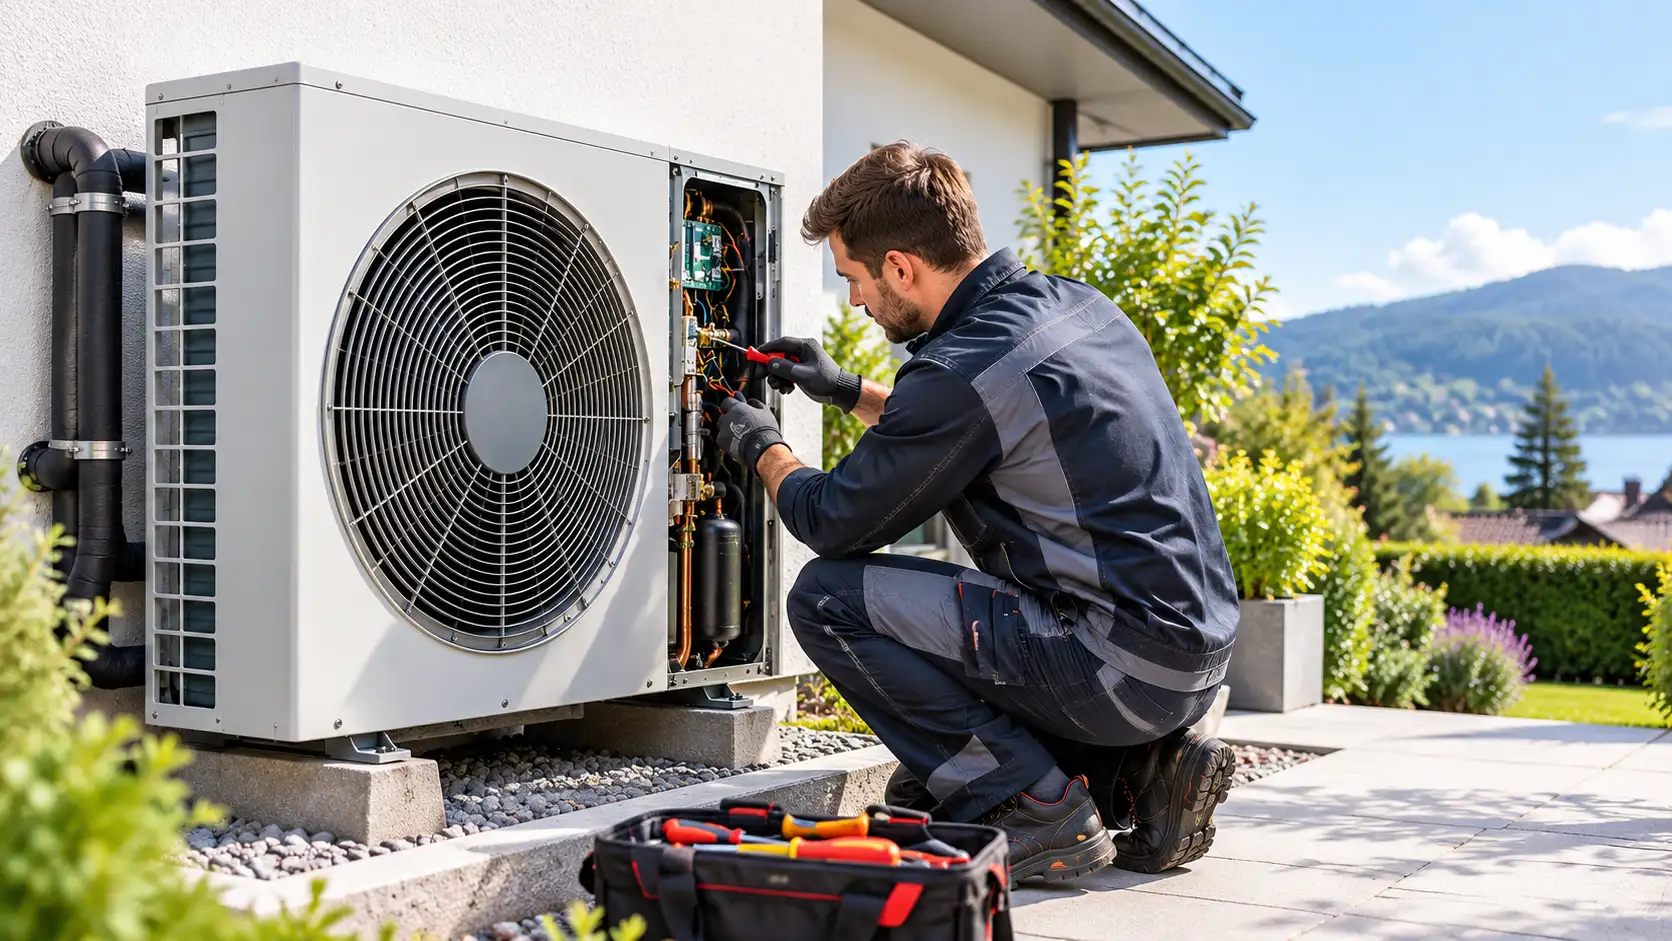
Regular maintenance helps your air-to-water heat pump work well and keeps your home comfortable throughout the year. Simple tasks like clearing leaves and debris from the outdoor unit, checking for water leaks, and watching for unusual noises can help you spot problems early.
It’s also important to prepare your system for winter, check pipe insulation, and arrange regular professional servicing. Read this article to learn how to care for your heat pump, follow a simple maintenance schedule, avoid common problems, and know when to call a professional. Let’s begin.
What Does Air-to-Water Heat Pump Maintenance Include?
Air-to-water heat pump maintenance involves checking the outdoor unit and the parts that carry heat around your home. The system takes heat from outdoor air and transfers it to water, which then warms your home through underfloor heating, radiators, or fan coils.
Maintenance includes more than keeping the outdoor unit clean. You may also need to check water filters, circulation pumps, pipe insulation, system controls, and backup heating. These parts help your heat pump run properly and keep your home comfortable.
For example, if some rooms feel colder than usual, the problem may be a blocked water filter, poor water circulation, or an incorrect control setting. A technician can check the system to find the cause and recommend the right fix.
Before starting any maintenance, find your heat pump’s model number, user manual, and previous service records. You can also contact your installers’ technical library for equipment guides and maintenance information. Always follow the instructions for your specific model.
A Practical Heat Pump Maintenance Schedule & Tips
Use this as a planning checklist.These suggested observation intervals do not replace the manufacturer’s requirements.| When | Homeowner checks | Professional work |
|---|---|---|
| Monthly during regular use | Look for obstructions, visible leaks, damaged insulation, and controller alerts | Arrange diagnosis if something has changed |
| After heavy snow or storms | Check that snow and debris have not obstructed airflow or drainage | Have persistent ice or physical damage assessed |
| Before winter | Review service records and confirm the cold-weather preparation plan | Verify freeze protection and backup operation |
| Before cooling season, if applicable | Look for damaged chilled-water insulation and visible drainage problems | Check cooling operation and condensate management |
| Annually, or as instructed | Provide operating notes and previous service records | Complete the model-specific service checklist |
1. Keep the Outdoor Unit Clear
Walk around the outdoor unit and look for leaves, windblown rubbish, vegetation, or stored items obstructing the air path. Remove loose debris from the surrounding area. Maintain the clearances specified for your model rather than using a general distance found online.
Restricted airflow can affect performance. Manufacturer service guidance specifically includes checking that air can move freely into and out of the unit. Do not push tools through the grille or reach toward the fan. If dirt is embedded in the coil, arrange cleaning using the method approved for that equipment. Avoid pressure washers and unapproved chemicals.
2. Watch for Changes in Noise and Operation
Learn what your system normally sounds like. A change is often more useful than trying to decide whether a heat pump is “quiet” in general. Note new vibration, rattling, repeated starts and stops, or rooms that no longer reach their usual temperature. Record when the change occurs and whether a controller alert appears
Photograph fault messages before contacting your installer. Avoid repeatedly clearing an error without identifying its cause. These notes help the technician distinguish an equipment fault from a control, circulation, or distribution problem.
3. Look for Water Leaks and Pressure Changes
Check accessible pipe connections, circulation pumps, and the area around indoor tanks for new drips or damp patches. If your installation has a pressure gauge, ask the installer to identify its normal operating range. Compare readings under similar conditions because pressure can change as the system warms and cools.
Report recurring pressure loss instead of repeatedly topping up the circuit. The technician should investigate the cause and confirm the correct fluid treatment. Water connections, system pressure, and leakage checks are established parts of air-to-water heat pump servicing. Leaving a leak unresolved can affect circulation and damage nearby materials.
4. Check Filters Appropriate to Your Installation
Two different filter types may need attention:
- Hydronic filters or strainers collect debris in the water circuit.
- Air filters may be fitted to fan coils or a hydronic air handler.
A radiant-floor-only system does not have the same air-filter requirements as a ducted system. Have a technician inspect and clean water-side filters according to the equipment instructions. Follow the indoor unit’s manual for accessible air-filter care.
Do not open a hot, pressurized strainer as a casual cleaning task. Restricted water flow needs proper diagnosis, including checking filters, pumps, and trapped air.
5. Inspect Pipe Insulation
Look for split, loose, missing, or wet insulation on accessible piping. Outdoor insulation should remain intact. Where the system provides cooling, chilled-water piping also needs suitable insulation and vapor protection to control condensation.
Usually, technical guidance addresses insulation on both outdoor piping and indoor cooling lines. Ask your installer to repair damaged sections; leaving gaps can allow heat loss or moisture problems.
3 Winter Maintenance for Air-to-Water Heat Pumps
Cold weather brings extra maintenance needs for air-to-water heat pumps. Before winter, check for blocked drainage, confirm freeze protection with your installer, and make sure backup heating is ready when needed.
Check the Defrost Drainage Area
During winter operation, the outdoor coil can collect frost. Defrost melts it, producing water that needs somewhere to drain.
Look for ice accumulating beneath the unit or obstructing the drainage route. Report buildup that approaches the cabinet or repeatedly blocks drainage. Arctic Heat Pumps technical guidance emphasizes elevation and drainage because defrost runoff can freeze beneath the equipment. Do not chip ice from the coil or change defrost parameters yourself.
Confirm Freeze Protection Before Severe Weather
For systems with water-based fluid circulating outdoors, freeze protection needs particular attention. It specifies an appropriate glycol mixture where freezing is possible and notes that powered freeze-protection functions cannot operate during a complete power failure.
Have the installer confirm the fluid specification and protection level for your installation. Do not add plain water or extra glycol without guidance, because changing the mixture affects the system’s design conditions.
Verify Backup Heating
Ask your service technician to confirm that backup heating responds as intended before winter. The check should include both the heat source and the controls that call for it, including backup operation during conditions when the heat pump cannot supply the required heat.
Professional Maintenance Should Include
Ask for a written checklist based on your equipment and installation. Depending on the system, professional servicing may include:
- Inspecting the outdoor coil, fan, cabinet, and mountings.
- Cleaning filters and checking circulation.
- Checking water pressure and visible leaks.
- Inspecting safety valves and expansion equipment.
- Checking electrical connections and components.
- Verifying sensors, controls, and operating temperatures.
- Reviewing refrigerant-system conditions using the
- manufacturer’s procedures.
- Recording findings and any recommended repairs.
Manufacturer service documents cover these areas, but the exact procedures differ between models. Refrigerant charging, electrical testing, and safety-device work belong with qualified personnel.
Where glycol is used, include fluid testing in the agreed service scope. If domestic hot water is integrated, the cylinder and associated components may have their own maintenance requirements.
Maintenance Service Record You Need to Keep
Keeping a service record helps you track your air-to-water heat pump’s condition and identify problems early. Save service reports, repair receipts, and maintenance notes in one place so you can easily access them when needed.
Your maintenance record should include:
- Service dates and weather conditions: Note when maintenance was completed and whether the weather was unusually cold or warm.
- Indoor comfort issues: Record rooms that feel too cold, slow heating, or hot water shortages.
- Controller alerts: Write down error codes or take photos of warning messages.
- Leaks and unusual noises: Note visible water leaks, vibrations, or changes in operation.
- Repairs and maintenance: Record filter cleaning, insulation repairs, replaced parts, and system adjustments.
- Next service date: Keep track of recommended repairs and upcoming inspections.
For example, if your electricity bill increases during winter, compare your records with outdoor temperatures, heating demand, hot-water use, and backup heating activity. Higher energy use does not always mean your heat pump has a problem.
After each professional service, ask your technician to document the inspections, repairs, findings, and recommended follow-up work. Keeping these records alongside your user manual makes it easier to identify changes, plan maintenance, and help technicians diagnose problems. Always follow your heat pump manufacturer’s maintenance recommendations.
To Sum Up
Taking care of your air-to-water heat pump doesn’t have to be complicated. Paying attention to small changes, keeping the outdoor unit clear, and checking your system before winter can help you avoid unexpected issues when you need heating the most.
Remember that every installation is different, so follow your model’s maintenance instructions and keep up with professional inspections. If you notice repeated error messages, water leaks, or a drop in heating performance, contact your installer for advice. If you don’t have one, you can consider contacting Arctic Heat Pumps experts. A little preparation today can help you enjoy dependable home heating and hot water when you need them.
Frequently Asked Questions
An annual professional inspection is a sensible starting point and aligns with Arctic’s general website guidance. Follow your model’s instructions if they specify different intervals or additional seasonal tasks.
You can keep the surrounding area clear, observe operation, record alerts, and perform accessible cleaning specifically permitted by the manual. Leave internal electrical, refrigerant, pressurized-water, and safety-device work to qualified technicians.
There is no single price for every installation. Ask for an itemized local quote that identifies the equipment covered, inspection tasks, cleaning, fluid testing, and whether repairs or replacement materials cost extra.
Do not assume it does. Cleaning a water filter, servicing a domestic hot-water cylinder, and flushing the entire hydronic circuit are different jobs. Follow the relevant equipment instructions and have the technician assess fluid condition before recommending treatment.