Every home leaks heat. Through its walls, windows, roof, floor, and the gaps around them, warmth constantly escapes to the colder outdoors, and the rate at which it does is called heat loss.
Knowing that number isn’t just an academic exercise: it’s the single most important figure for sizing a heating system correctly, cutting energy bills, and keeping every room comfortable on the coldest night of the year.
Read this article to learn exactly how to calculate heat loss, step by step, with the formulas, reference values, and a full worked example. Also, learn why the calculation matters, how each variable fits together, and when it’s worth handing the job to a professional.
Why Is Calculating Heat Loss Important?
A heat loss calculation tells you how much heat energy, measured in BTUs per hour (or watts), your home loses on a design-cold day. That figure drives nearly every important heating decision you’ll make.
It sizes your heating system correctly. If a furnace, boiler, or heat pump is undersized, it can’t keep up on the coldest days, and your home stays cold. If it’s oversized, the far more common mistake, it short-cycles (switching on and off rapidly), wastes energy, wears out faster, controls humidity poorly, and costs more upfront. An accurate heat loss number lets you match equipment capacity to the home’s actual demand instead of guessing. This is especially critical for heat pumps, which perform best when precisely sized to the load.
It reveals where energy is being wasted. Because the calculation breaks losses down by surface, walls, windows, roof, floor, and air leakage, it shows you exactly where your home is bleeding heat. That tells you whether your money is better spent on attic insulation, new windows, or air sealing before you ever touch the heating system.
It saves money and improves comfort. A right-sized, efficient system paired with targeted envelope improvements means lower monthly bills, steadier temperatures, and fewer cold spots. Reducing the heat loss first often lets you install smaller, cheaper equipment.
It’s often required. Many jurisdictions require a heat loss (heat load) calculation when permitting new construction or a heating system replacement, precisely to prevent the oversizing that wastes energy and money.
In short, you can’t intelligently choose a heating system, plan a renovation, or predict energy costs without first knowing how much heat your home loses.
Expert Method of How to Calculate Heat Loss
At its core, heat loss through the building envelope follows one simple formula, applied surface by surface and then totaled, plus a separate calculation for air leakage. The master equation for conductive (fabric) heat loss is:
Q = U × A × ΔT
Where Q is heat loss in BTU/hr, U is the U-value of the material, A is the surface area, and ΔT is the temperature difference between inside and outside. Here’s how heating and cooling load calculations work.
1. Determine the Design Temperature (ΔT)
ΔT (Delta T) is the temperature difference the heating system must overcome. It’s the indoor design temperature minus the outdoor design temperature.
The indoor design temperature is simply your comfortable target, typically 68-72 °F (20–22 °C). The outdoor design temperature is the coldest temperature your system needs to handle, based on local climate data, usually the “99% design temperature,” meaning the outdoor air is warmer than this figure 99% of the year. You can find it in ASHRAE design-condition tables or by asking a local HVAC professional or utility.
To give you an example, if your indoor target is 70 °F and your region’s winter design temperature is 0 °F, then ΔT = 70 − 0 = 70 °F. The colder your climate, the larger your ΔT, and the greater your heat loss.
2. Calculate the Surface Area
Next, measure the area of every surface that separates heated space from the outdoors: exterior walls, windows, exterior doors, the roof or top-floor ceiling, and the floor (if it sits over an unheated space like a crawlspace or is a ground slab).
For each exterior wall, measure its length × height to get the gross area, then subtract the area of the windows and doors in it; those are calculated separately because they have very different U-values.
Do this for every room, since you’ll want room-by-room figures to size individual zones and emitters. A floor plan with dimensions is the ideal starting point. Interior walls between two heated rooms don’t count; neither does a party wall shared with another heated dwelling.
3. Determine the U-Value of Each Surface
The U-value measures how easily heat passes through a material; the higher the U-value, the more heat escapes. It’s the inverse of the more familiar R-value (thermal resistance): U = 1 / R. So a well-insulated wall with a high R-value has a low U-value, which is exactly what you want.
For an assembly made of several layers (drywall + insulation + sheathing + siding), add up the R-values of all the layers to get the total R-value, then convert to U. Here are typical U-values for common assemblies to get you started:
| Building Element | Typical R-value | Approx. U-value (BTU/hr·ft²·°F) |
|---|---|---|
| 2×4 wood-frame wall, R-13 batt | ~14 | 0.07 |
| 2×6 wood-frame wall, R-20 batt | ~21 | 0.05 |
| Uninsulated frame wall | ~4 | 0.25 |
| Attic/ceiling, R-38 | 38 | 0.026 |
| Attic/ceiling, R-49 | 49 | 0.020 |
| Floor over crawlspace, R-19 | 19 | 0.05 |
| Single-pane window | ~1 | 1.0 |
| Double-pane window | ~2 | 0.50 |
| Low-E double/triple-pane window | ~3–4 | 0.25–0.33 |
| Solid wood exterior door | ~2 | 0.49 |
| Insulated steel/fiberglass door | ~5–6 | 0.16–0.20 |
For precise work, get manufacturer U-values for your actual windows and doors, and account for the framing factor, the roughly 20–25% of a stud wall that’s wood framing rather than insulation, which conducts more heat than the cavity and slightly raises the assembly’s effective U-value.
4. Calculate Heat Loss for Each Surface
Now apply Q = U × A × ΔT to each surface. Multiply its U-value by its area by your ΔT to get that surface’s heat loss in BTU/hr. Do this separately for walls, each window, doors, ceiling, and floor.
For instance, a 178 ft² insulated wall (U = 0.07) with a 70 °F ΔT loses: 0.07 × 178 × 70 = 872 BTU/hr. Repeat for every surface in the room.
5. Calculate Air Infiltration, Heat Loss
Beyond heat conducted through solid surfaces, every home loses heat as warm indoor air escapes and cold outdoor air leaks in through cracks, joints, and gaps, plus intentional ventilation. This is calculated by room volume, not surface area, using:
Air Infiltration Heat Loss = Volume × ACH × ΔT × 0.018
Where Volume is the room’s volume in cubic feet (length × width × height), ACH is the air changes per hour, ΔT is the same temperature difference, and 0.018 is the specific heat of air (the BTUs needed to raise one cubic foot of air by one degree Fahrenheit).
The trickiest input is ACH. Use these rules of thumb:
| Construction type | Typical ACH |
|---|---|
| New, tight construction | 0.25 – 0.5 |
| Average / older home | 0.5 – 1.0 |
| Old, uninsulated, single-pane windows | 1.0 – 1.5 |
(In metric, the equivalent formula is Volume in m³ × ACH × ΔT in K × 0.33 = watts.)
6. Add It All Up for Total Heat Loss
Finally, sum the conductive losses from all surfaces and the air infiltration loss to get the total heat loss for the room:
Total Heat Loss = (Sum of all surface losses) + Air infiltration loss
Repeat the entire process for every room, then add the rooms together for the whole-house heat loss. That whole-house figure, in BTU/hr, is your design heating load, the capacity your heating system must deliver on the coldest day. Most designers add a modest safety allowance (and a pickup factor to reheat a home that’s been set back), then select equipment to match.
Example of Calculating Heat Loss
Let’s work through a complete room to see how it fits together. Our example is a corner bedroom in a cold climate:
- Dimensions: 12 ft × 14 ft, with an 8 ft ceiling
- Two exterior walls (the 12 ft and 14 ft walls), totaling 26 ft of exterior wall
- Two windows totaling 30 ft² (double-pane, U = 0.50)
- Top-floor room, so the ceiling is below an insulated R-38 attic (U = 0.026)
- Floor over an unheated crawlspace, R-19 (U = 0.05)
- Indoor design temp 70 °F, outdoor design temp 0 °F, so ΔT = 70 °F
Surface Areas:
- Gross exterior wall = 26 ft × 8 ft = 208 ft²
- Net wall (after subtracting 30 ft² of windows) = 178 ft² (U = 0.07)
- Windows = 30 ft²
- Ceiling = 12 × 14 = 168 ft²
- Floor = 12 × 14 = 168 ft²
Conductive heat loss (Q = U × A × ΔT):
| Surface | U | Area (ft²) | ΔT | Heat loss (BTU/hr) |
|---|---|---|---|---|
| Walls | 0.07 | 178 | 70 | 872 |
| Windows | 0.50 | 30 | 70 | 1,050 |
| Ceiling | 0.026 | 168 | 70 | 306 |
| Floor | 0.05 | 168 | 70 | 588 |
| Subtotal | 2,816 | |||
Air Infiltration:
- Volume = 12 × 14 × 8 = 1,344 ft³
- ACH = 0.5 (average home)
- Infiltration = 1,344 × 0.5 × 70 × 0.018 = 847 BTU/hr
Total heat loss for this bedroom: 2,816 + 847 = ≈ 3,663 BTU/hr
That’s how much heat this one room loses on a 0 °F day, and therefore how much heat your system must deliver to it to hold 70 °F. Notice how much the windows alone contribute (1,050 BTU/hr, over a quarter of the total) despite their small area: it’s a vivid illustration of why glazing and air sealing are such high-value upgrades. Repeat this for every room, total the results, and you have the whole-house design load ready for equipment selection.
Don’t DIY, Hire an Experienced Professional
The formulas above are genuinely simple. The difficulty, and where DIY calculations usually go wrong, is in the assumptions behind the numbers. As the saying goes among energy modelers, the math is easy; getting the inputs right is hard.
Accurate results depend on correct U-values for your specific assemblies (including framing factors and thermal bridges), a realistic air-change rate, the right local design temperature, and, critically, not forgetting a single surface that loses heat. Miss the ductwork in an unconditioned attic, guess wrong on infiltration, or overlook a thermal bridge, and the whole calculation is off, which cascades into a wrongly sized, inefficient system.
Professionals also use recognized methods (such as ACCA Manual J in North America) and software that account for solar gain, orientation, occupancy, and hour-by-hour variation that hand calculations can’t easily capture. Many locate hidden losses with tools like blower-door tests and thermal imaging that no visual inspection can match.
Getting this right matters most precisely when you’re investing in new equipment; an oversized or undersized heat pump or boiler will underperform for its entire 15–20-year life. That’s why it pays to have the load calculated properly before you buy.
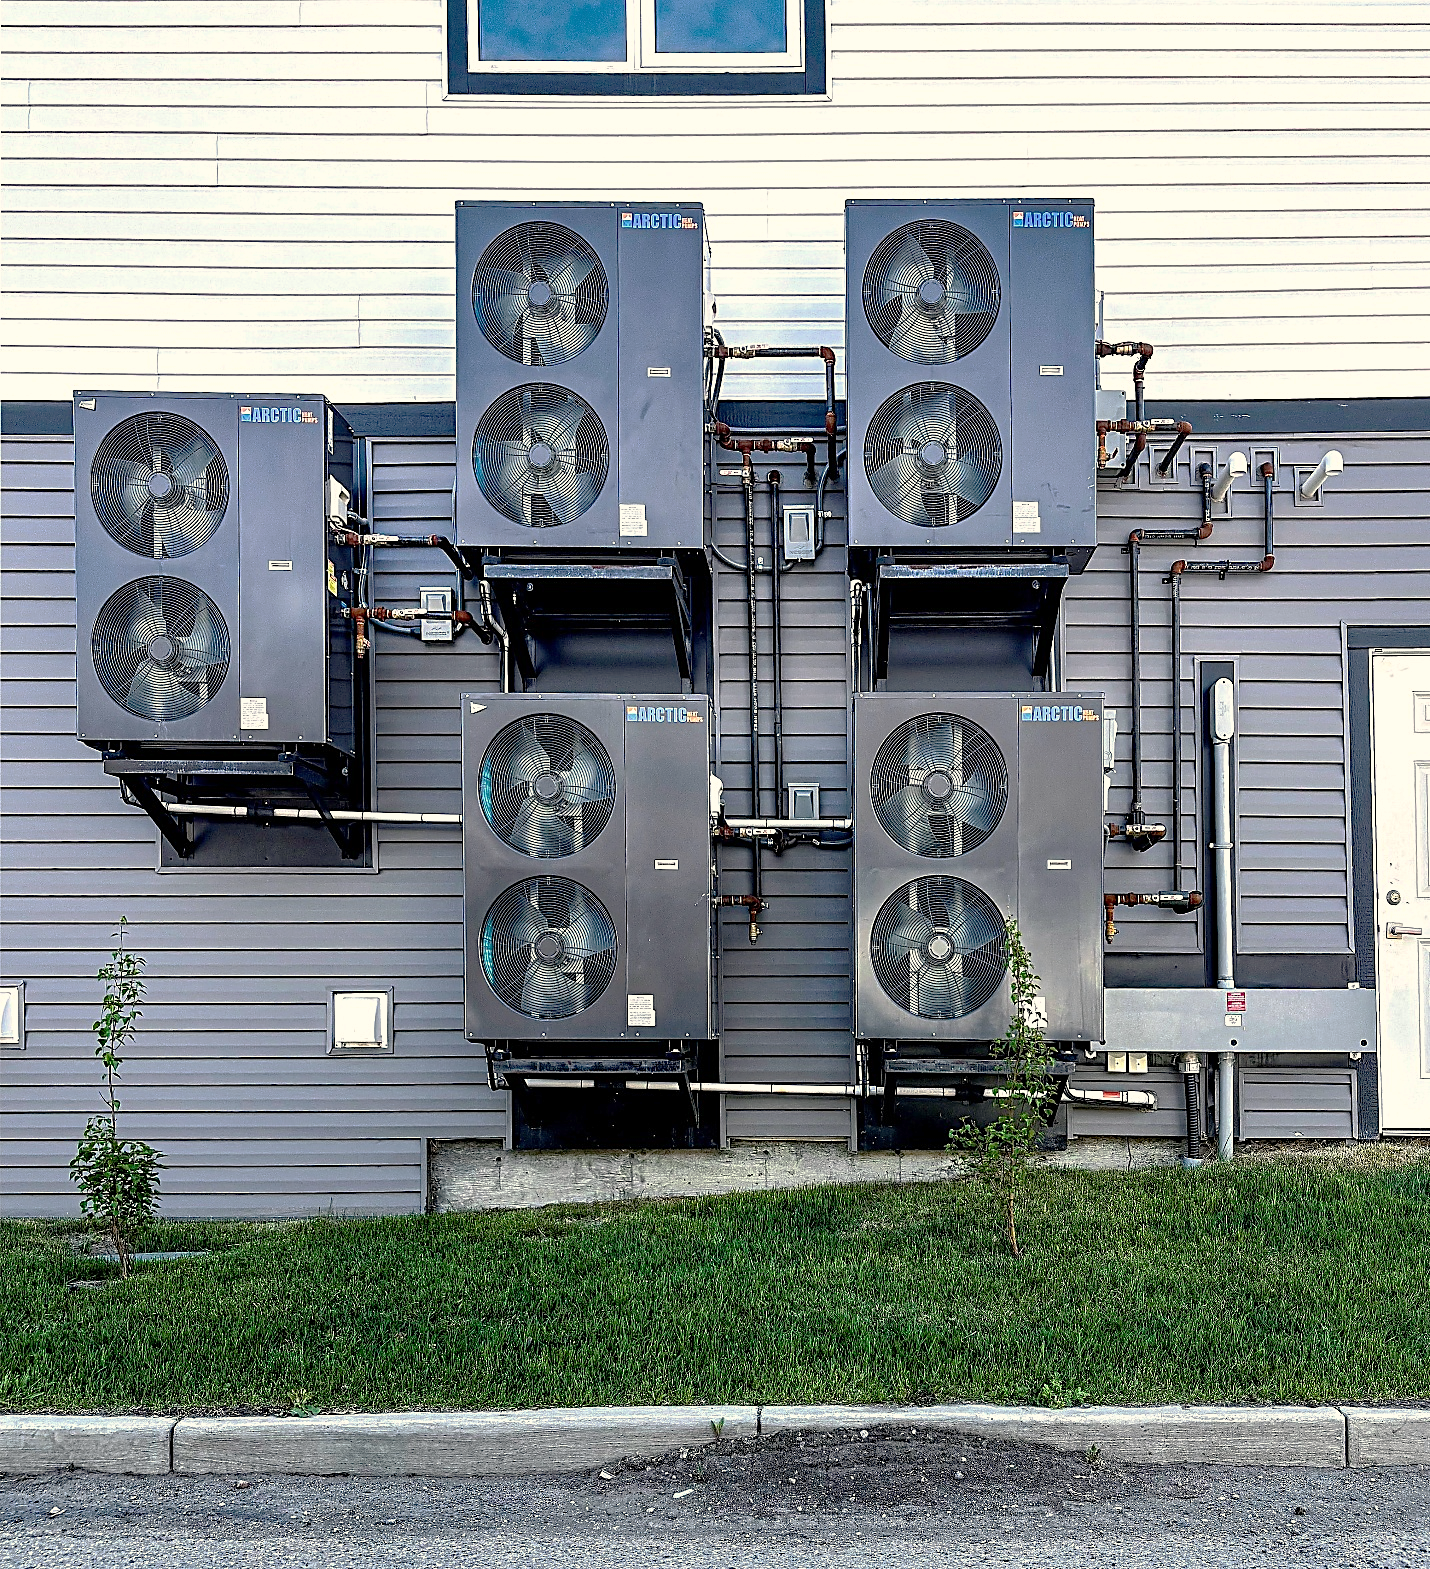
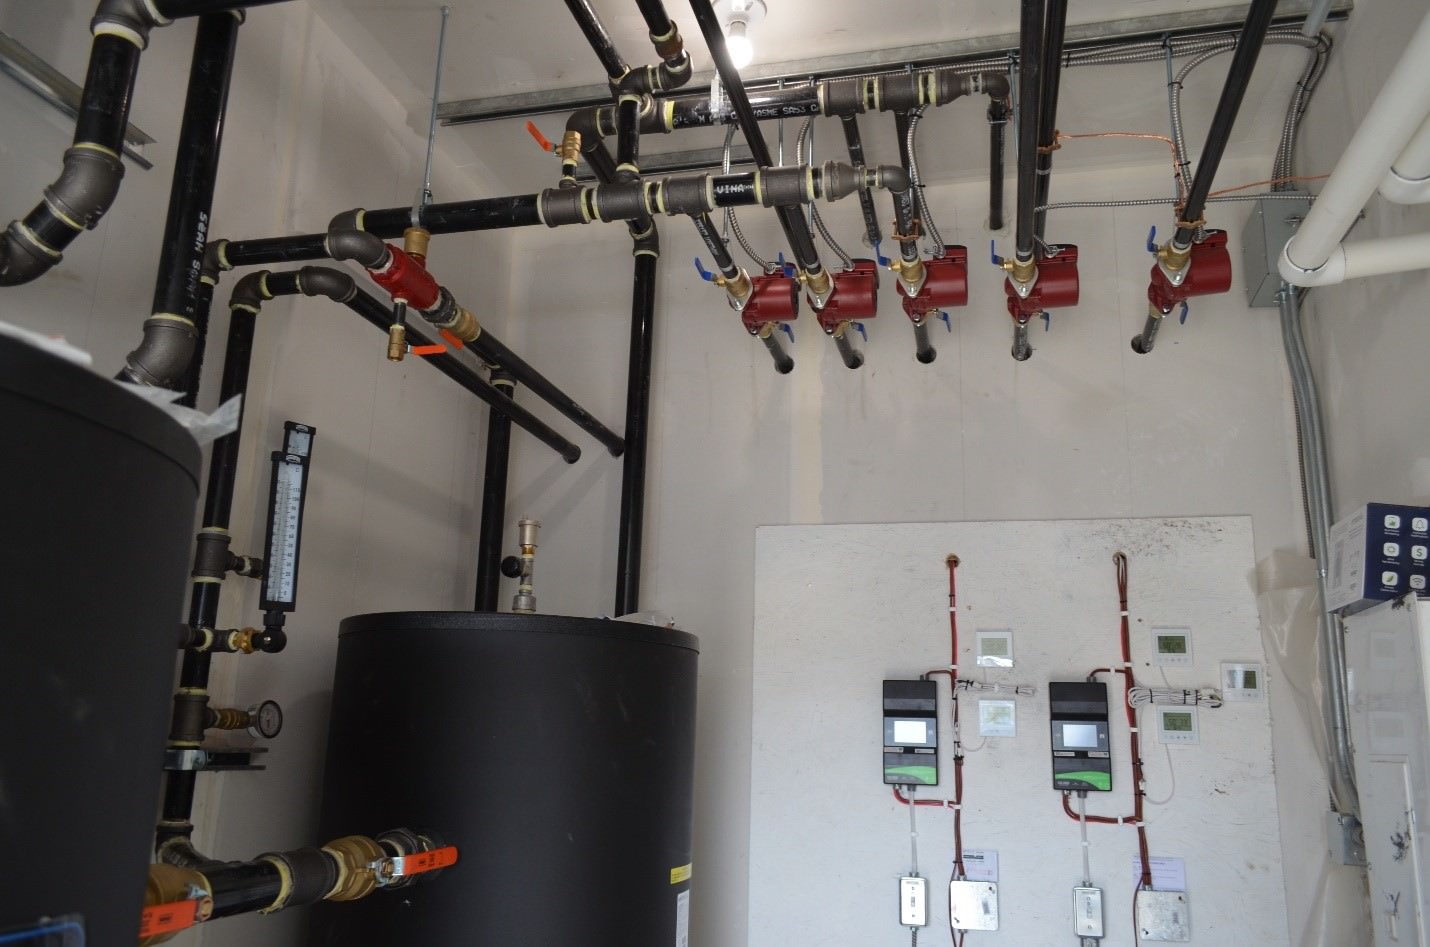
This is exactly the service Arctic Heat Pumps provides. Our team offers a free heat load calculation and complete hydronic design for both new construction and retrofits, determining the precise BTUs your home needs on the coldest day so your system is sized right, with no expensive oversizing and no underperformance. We’ll also handle the radiant loop layout, pump sizing, and control logic, delivering a fully engineered package built around your actual heat loss.
If you’re planning a heating upgrade, start with the number that drives everything else. Explore Arctic’s free hydronic heating design service to get a system sized correctly for your home and climate.
To Wrap Up
Calculating heat loss comes down to one repeated formula, Q = U × A × ΔT, for every surface, plus an air-infiltration term, summed across every room. That total, expressed in BTU/hr, is the foundation for sizing a heating system correctly, targeting efficiency upgrades, and keeping your home comfortable and affordable to heat.
While the arithmetic is straightforward, accurate inputs are what separate a useful result from a costly guess, so when real money and a 15–20-year system are on the line, have it done professionally. That’s it for today. Hope our “How to Calculate Heat Loss” article was helpful for you.
Frequently Asked Questions
What is the formula for calculating heat loss?
The core formula is Q = U × A × ΔT, where Q is heat loss (BTU/hr), U is the U-value of the surface, A is its area, and ΔT is the indoor-to-outdoor temperature difference. Air infiltration is calculated separately as Volume × ACH × ΔT × 0.018. Total heat loss is the sum of all surface losses plus infiltration.
What is a U-value and how does it relate to R-value?
A U-value measures how easily heat passes through a material, lower is better. It’s the inverse of R-value (thermal resistance), so U = 1 / R. A wall with R-13 insulation has a U-value of about 1/14 ≈ 0.07 once you include the other layers. Higher R-value and lower U-value both mean less heat loss.
What indoor and outdoor temperatures should I use?
Use a comfortable indoor design temperature of 68-72 °F and your local outdoor “design temperature”, the near-coldest temperature for your area, available from ASHRAE tables or a local HVAC pro. The difference between them is your ΔT.
How do I account for air leakage?
Use the infiltration formula: room Volume × Air Changes per Hour (ACH) × ΔT × 0.018. Estimate ACH from construction tightness, roughly 0.25-0.5 for new tight homes, 0.5-1.0 for average homes, and 1.0-1.5 for old, leaky ones.
Why does correct heat loss matter for sizing a heat pump?
Heat pumps run most efficiently and reliably when sized to the actual load. An oversized unit short-cycles and wastes energy; an undersized one can’t keep up in a cold snap. The heat loss figure is what lets an installer pick the right capacity, which is why an accurate calculation is essential before buying.
Can I calculate heat loss myself?
You can estimate it with the formulas here, and doing so is a great way to understand where your home loses heat. But for equipment sizing, a professional calculation (using methods like Manual J) is strongly recommended, because small errors in U-values, air-change rates, or missed surfaces can significantly skew the result.